Preface
After configuring a TPO Connect website to be accessed from a company's custom sub-domain, it is preferred that the Welcome Email be updated to show that new domain. This guide will show where to update the configuration so that new TPO users are told to go to the updated website to log in for the first time. There is one way that is suggested/approved by EllieMae that also allows for more pleasant email design including custom logos and layout, and another "workaround" that appears to accomplish the same goal through the External Company Setup settings but may cause issues.
As an illustration of what this resolves:
- The default website URL for TPO Connect is in the format 1111111111.encompasstpoconnect.com
- Encompass clients can configure a URL like "tpo.companysite.com" to point to their TPO Connect site
- Since this URL redirect is managed outside of Encompass, the Welcome Email to new users will still show the default website URL in the body of the email
- For Branding Consistency and ease of use you can follow the steps below to update the Welcome Email to show the configured custom URL
Warning
This should only be done after all steps of redirecting the URL, including any SSL certificate transfers, has been completed. Sometimes domain name server configurations can take up to 48 hours to propagate to all DNS servers. You can check that the redirect is in place and working by visiting the company's new domain in a web browser.
Steps (Approved by EllieMae) to Send TPO Connect Welcome Emails
Refer to Article 000016578 - EllieMae Case Article
The Welcome email template under the Notifications page within the TPO Administration portal, allows administrator users to configure the automated email that is sent to newly created Encompass TPO Connect users.
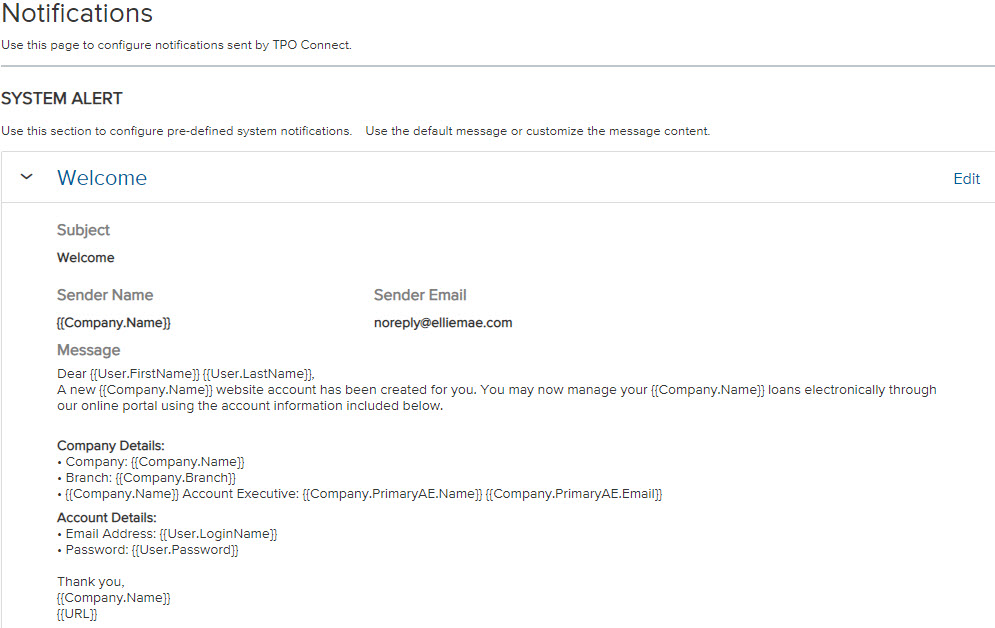
Once configured, TPO Connect uses this template to send out an automated email after a new TPO Connect user account has been created, directly from the TPO Connect site. A TPO Connect user can create a new TPO Connect user account by using the Add Contact button to create a new Company Contact on the Manage Account page.
Navigation:
- Log into the TPO Connect site.
- In the top right corner of the page, select the user's name to open a drop-down menu.
- Select Manage Account from the drop-down menu.
- Select the Company Account tab.
TPO Connect external user accounts can be managed through the Company Contacts section.
The following Persona permissions are required in order to allow a TPO Connect external user to create a new Company Contact and send the contact a Welcome Email within the TPO Connect site interface:
Navigation:
Encompass -> Settings -> Company/User Setup -> Personas -> Select the desired persona -> External Settings -> TPO Contacts
- Create/Edit Contacts
- Send Welcome Email
Note: The Welcome notification email template within the TPO Connect interface is completely separate from the Welcome Email that can be generated from an external user's profile within the Encompass interface:
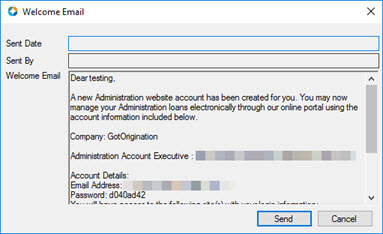
The Welcome Email template within Encompass is hard-coded in the application and can not be edited. The Sender Address on this email is determined by the Email Server Settings within the Encompass application:
Navigation: Encompass -> Settings -> Contact Setup -> Email Server Settings
-- Steps (Unapproved/Not suggested by EllieMae, but appears to accomplish the same goal from the External Company Setup)
1. Go to Encompass's Settings Screen and expand the External Company Setup options
2. Click on "TPO Connect Site Management"
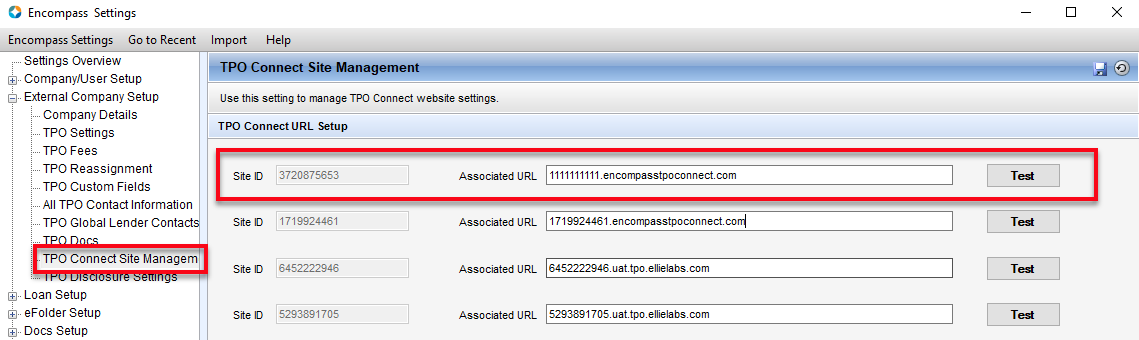
3. Find the TPO Site ID that is being used by the client for the URL Redirect
4. Update the "Associated URL" to show the company's new web site (include "https://" so that the email clients recognize it as a web URL)

5. Click the Save icon in the upper right corner
Check that it worked
Before doing this change, go to "External Company Setup" and "Company Details". If you open a test user account and look under the "TPO WebCenter Setup" section, you'll see in the "Site URL" field the default TPO Connect url:

And after updating the TPO Connect URL Setup, it will show the new URL in the drop down list:

If you click on the "Preview and Send" button before and after the change (this initiates the password reset, don't do this on a real account unless they're aware their password will be reset) you'll see the URL update here as well:

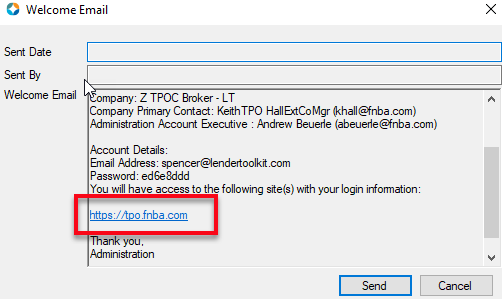
Notice that adding "https://" before the URL ensures that the website is a clickable link.
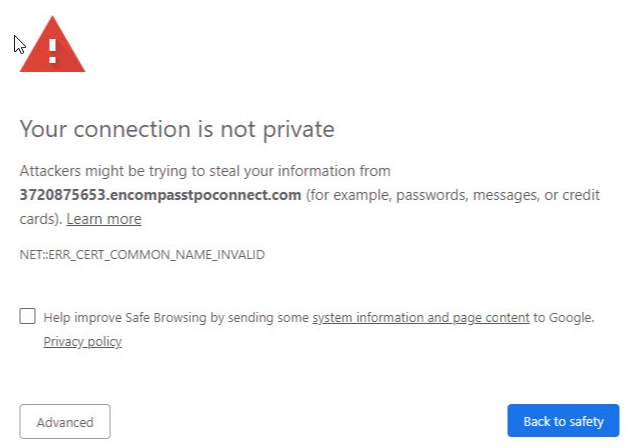
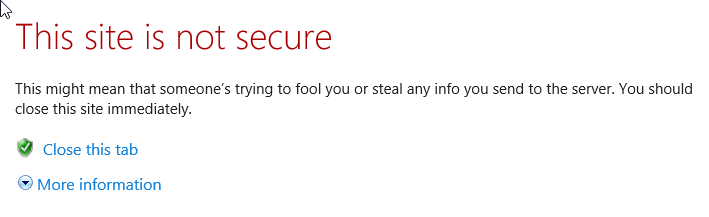
Be aware that if the company has not configured an SSL cert for the new site, visiting this URL (or the default URL) may result in a Security Warning in recent versions of web browsers: